
Homemade Payday Candy Bars
Instructions:
Step 1: Prepare the Pan Line a 9×9-inch square baking pan with parchment paper, leaving some overhang on the sides for easy removal. This will make it simple to cut and serve your Homemade Payday Candy Bars.
Step 2: Toast the Peanuts Spread the roasted unsalted peanuts evenly on a baking sheet and toast in a preheated oven at 350°F (175°C) for 8-10 minutes, or until they become golden brown. Keep a close eye to prevent burning. Once toasted, set the peanuts aside to cool.
Step 3: Make the Caramel In a medium-sized saucepan over medium heat, combine granulated sugar, light corn syrup, unsalted butter, and salt. Stir constantly until the mixture comes to a boil. Allow it to boil without stirring for 4-5 minutes, or until it reaches a golden amber color. Remove from heat and carefully stir in the vanilla extract.
Step 4: Combine Peanuts and Caramel Add the toasted peanuts to the caramel mixture, stirring quickly to coat them evenly. Ensure all peanuts are well-coated in the caramel.
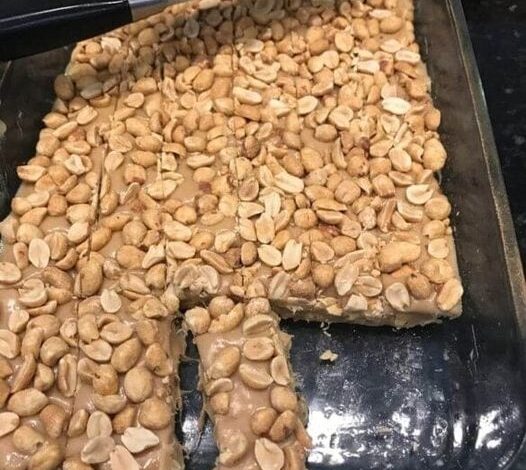
Step 5: Transfer to the Pan Pour the peanut-caramel mixture into the prepared baking pan, spreading it out evenly with a spatula. Press it down firmly to create a smooth, compact layer.
Step 6: Cool and Set Allow the Homemade Payday Candy Bars to cool at room temperature for at least 2 hours, or until the caramel has fully set. For faster setting, you can refrigerate them for about 1 hour.
Step 7: Cut and Serve Once the bars are completely set, use the parchment paper overhang to lift them out of the pan. Place them on a cutting board and use a sharp knife to cut them into bars of your desired size.
Step 8: Enjoy! Savor the sweet and salty goodness of your Homemade Payday Candy Bars. Share them with friends and family, or keep them all to yourself for a delicious treat!
Note: Store any leftovers in an airtight container at room temperature for up to a week or refrigerate for longer shelf life.