
FOOD
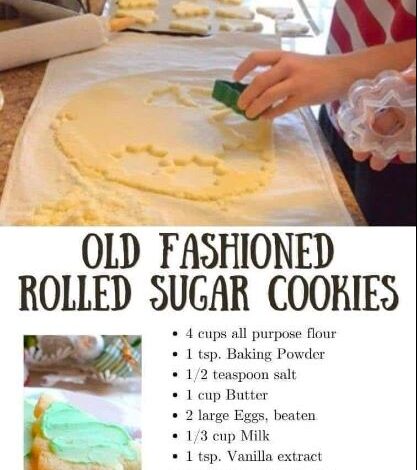
Rolled Sugar Cookies
Advertisement
Instructions:
- Preheat the Oven: Preheat your oven to 375°F (190°C). Line baking sheets with parchment paper for easy cleanup.
- Combine Dry Ingredients: In a medium-sized bowl, whisk together the flour, baking soda, baking powder, and salt. Set aside.
- Cream Butter and Sugar: In a large mixing bowl, cream together the softened butter and granulated sugar until light and fluffy. This can be done with an electric mixer on medium speed for about 2 minutes.
- Add Wet Ingredients: Beat in the egg, followed by the vanilla extract. If desired, add the almond extract for an extra layer of flavor.
- Incorporate Dry Ingredients: Gradually add the dry ingredients to the wet ingredients, mixing until just combined. Be careful not to overmix.
- Chill the Dough: Divide the dough into two equal portions, form each into a disc, wrap in plastic wrap, and refrigerate for at least 1 hour. Chilling the dough makes it easier to handle and helps the cookies keep their shape.
- Rolling Out the Dough: Preheat your rolling surface with a light dusting of flour. Roll out one disc of dough at a time to about 1/4-inch thickness. Use additional flour as needed to prevent sticking.
- Cutting Shapes: Use cookie cutters to cut out desired shapes from the rolled dough. Place the cutouts onto the prepared baking sheets, leaving a small space between each cookie.
- Baking: Bake in the preheated oven for 8-10 minutes or until the edges are lightly golden. Keep an eye on them to prevent over-baking. The baking time may vary depending on the size of your cookies.
- Cooling: Allow the cookies to cool on the baking sheets for 5 minutes before transferring them to wire racks to cool completely.
- Decorate (Optional): Once the cookies are completely cool, unleash your creativity and decorate with icing, sprinkles, or colored sugars.
- Store: Store the cooled cookies in an airtight container at room temperature. Enjoy these delightful rolled sugar cookies with a glass of milk or share them as festive treats!
Note: Feel free to experiment with different shapes, colors, and decorations to suit the occasion. Happy baking!
Advertisement